Do you ever run out of ideas for healthy home made breakfasts?
I did! Until I started making this breakfast granola on repeat. It’s so quick and easy that I honestly have no excuse not to make it!
Lately I’ve been making a batch when I have a spare 5 minutes while I’m cooking dinner and have the oven on anyway. Home made Breakfast Granola stores beautifully in an air tight container at room temperature and this recipe can be easily adapted to your taste. Whats not to love? Read below the recipe for extra information and tips!

Why should you make this Breakfast Granola?
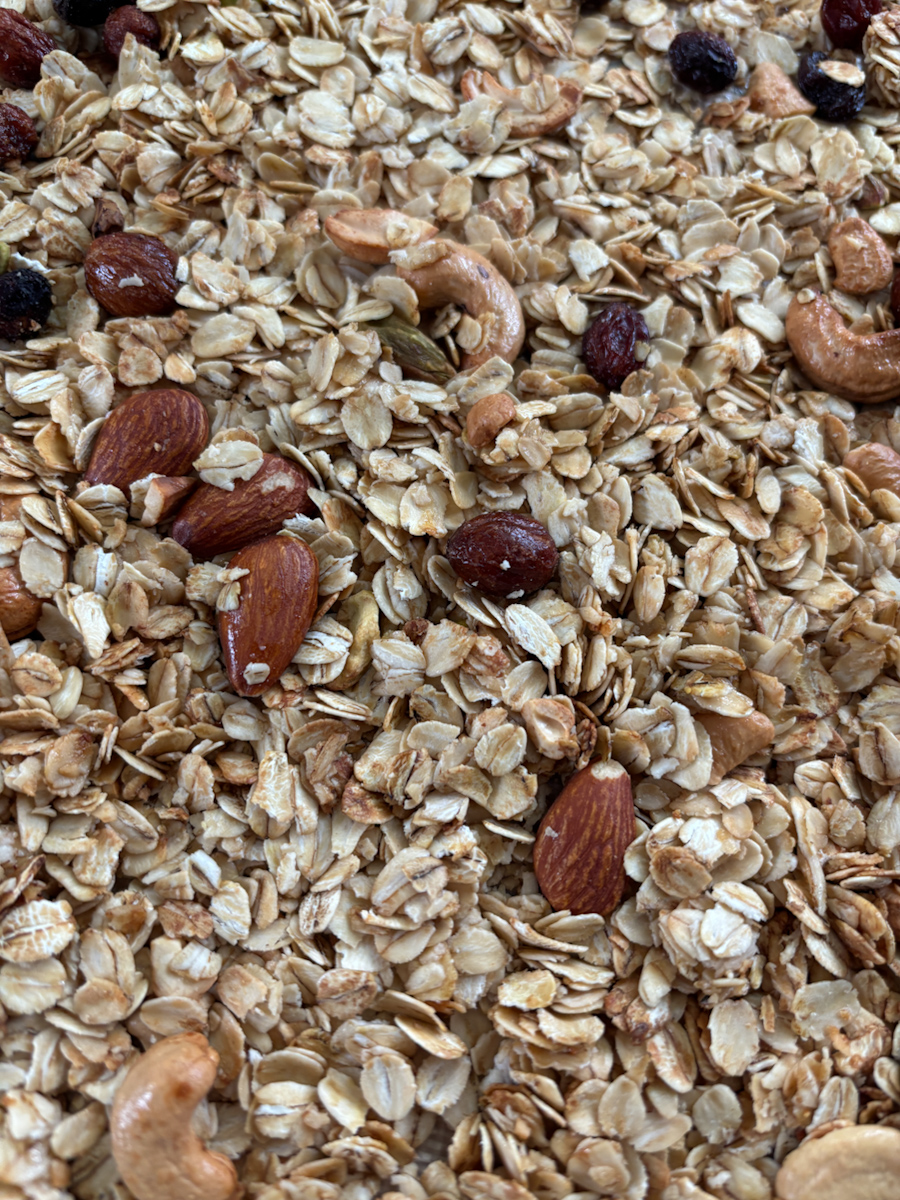
This Breakfast Granola is so easy to make with just 4 natural ingredients. Whole nuts, extra virgin olive oil and oats provide nutrients and honey is used as a natural sweetener. And this particular combination of ingredients results in a super crunchy granola that really is delicious! If you like this breakfast recipe you should also try my Blueberry and Banana Muffins.
Breakfast Granola
Ingredients
Equipment
Method
- Preheat oven to 180 degrees C (160 fan) / 355 degrees F and prepare a baking tray by covering it with a layer of baking/parchment paper.
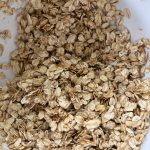
- Add 20 g Extra Virgin Olive Oil, 40 g Honey, 150 g Whole Oats to a mixing bowl and stir until all of the oats are coated in the liquid
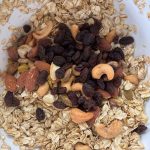
- Add in 100 g Mixed Nuts and 50 g Raisins (if using)
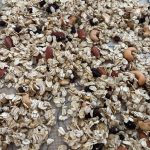
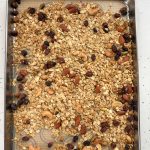
- Add the mixture to the prepared baking tray in one even layer. Bake for 10-12 minutes mixing around half way through baking, to ensure that the granola cooks evenly.
- Cool and enjoy
FAQ
Firstly let the granola cool completely before storing otherwise steam will cause the granola to soften & loose its crunch. Any air tight container such as a sealed glass or plastic tub or jar can be used.
This granola never lasts more than a week or two in our house so I have not tried storing it for longer but other online sources advise that home made granola can we stored in an air tight container at room temperature for up to 4 weeks.
Yes, granola can be used to add a crunchy texture to yoghurt and fruit parfaits or a crumble topping for fruit & baked goods.
Step by step photos